“HOW WE DO IT”!

There are probably as many ways to set up and tear down a campsite as there are people out there camping every weekend and I have seen several different checklists that can guide someone through it. I am certain that the variations happen because no two camps are the same, there are a variety of different rigs out there and people learn and execute things differently! That is why the subtitle to this post is “How We Do It”!
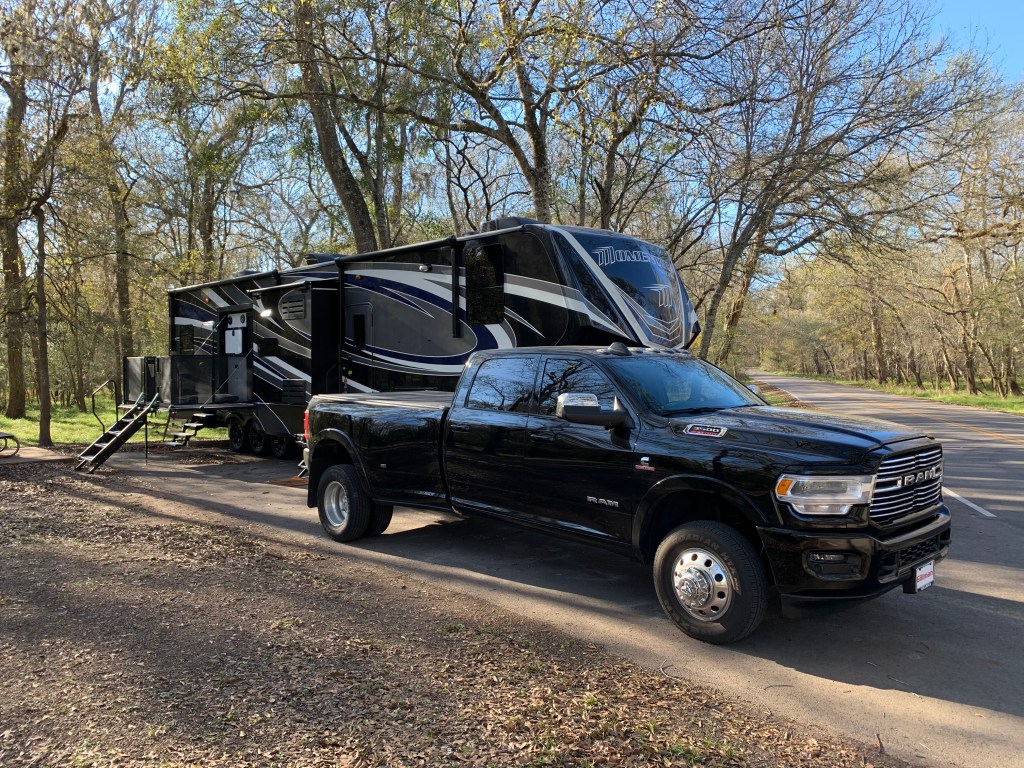
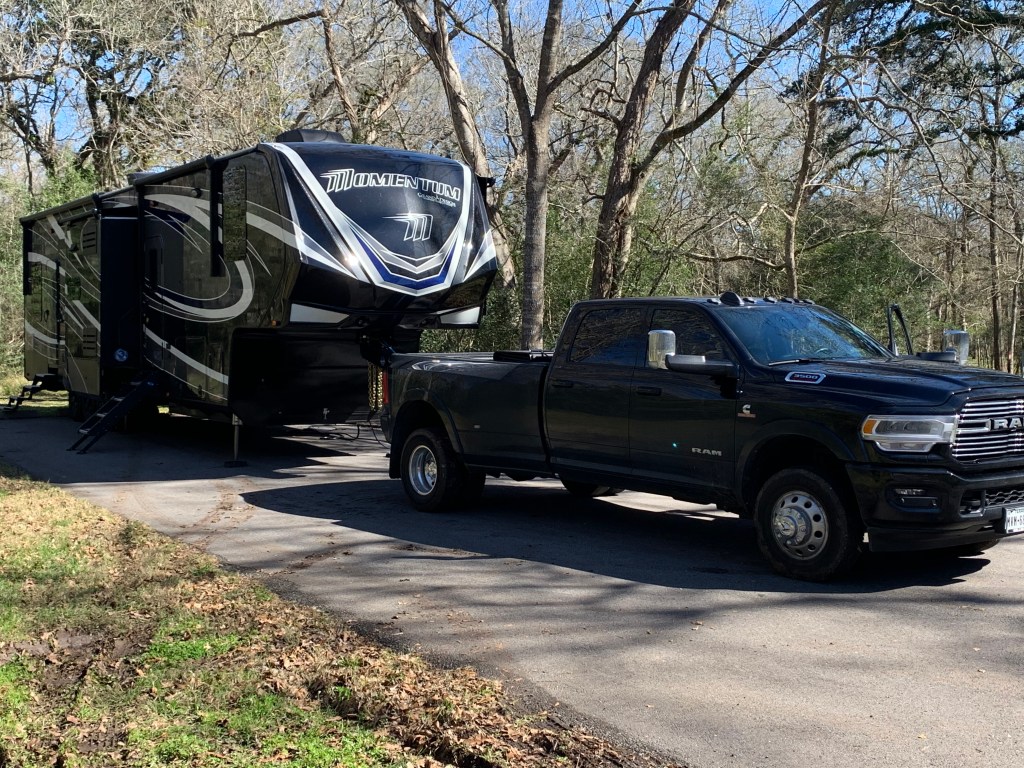
What I am going to share with you in this post is the process I/we use to set up and tear down a typical campsite for our Grand Design Momentum 399TH. It is a large, 43+ foot rig with both a side and back porch and slide outs on both sides. This is what it looks like when we do a full set up as if we were staying for a week or more. I will also share what we do for a simple overnight or short stay.
After the blog is finished, I will put together an Excel spreadsheet you can download and use if you so choose! NOTE: A lot of this blog will consist bullet points outlining the process, but I will add some notes or comments to share with you why we do things the way we do it!
First Things First!
Let’s start out with some overarching ideas before we get into the details and minutia over the different aspects of how we set up our site!
- Safety first always! There is nothing on this planet more important than our personal safety and the safety of the people we share the roads and campsites with.
- Slow is fast and fast is slow so go at the pace you are most comfortable with. My experience is getting in a hurry is a recipe for making a mistake and that can be a recipe for disaster!
- Use a checklist if that is what works best for you! Checklists do not always work best for everyone … myself included in this group! That said, this is a process that should be repeated consistently every time! Repetition will make for a well-oiled set up and tear down that you can confidently depend on!
- And lastly, never stop learning about new and better ways to do this, new tools available and other ideas that will enhance your camping experience. Have the humility to be teachable and embrace new ideas! This should be a never ending work in process!
Setting Up Our Campsite!
I am going to walk through everything we do, in the order we do it, from the moment we arrive at the site until I say DONE! Let’s start with how we back the rig into our site or position it in a pull through site. While I/we see all of the jokes, not jokes, about how couples struggle with getting it done in a civil manner we do have a process that is simple, and we would encourage you to consider! PS … getting it done in a civil manner is a relationship issue! You might check out our www.yourmarriagematters.com website or our podcast for answers to this issue!
Parking the Rig

First let me acknowledge that I understand why this can be a bit stressful, even nerve wracking, for some! That said, allow me to suggest some ideas that have made it much easier for us!
- GOAL … “Get Out And Look”! When we arrive at our site, whether it is a back in or pull through, we both get out and take a close look at the site. We are first looking for any hazards we need to take into consideration including looking up for any branches that could be problematic. I am also looking for where in the site I want to position the rig … remember we have two slide outs and a side and back porch to consider. Also looking at depth in the site and distance from the hookups. And finally, after all of that is considered first, how do I maximize the remaining camping space!
- Once we get clear … about where I want to end up in the site I look at where my blind side is going to be. If there is an obstruction there or potential problem Christie has one job and one job only … Do Not Let Me Hit That! Sometimes that side is completely clear so no worries and sometimes there is a real threat. She only has to communicate where I am in reference to the threat! That is it … one job! Note: We use our cell phones for communications.
- My #1 Objective … is to get the rig in the middle of the site. Don’t get me wrong, I would love to hit the sweet spot on my first pass and sometimes I do. But after getting it in the middle of the site I can easily position it from there and then Christie’s second job is to get us the proper depth, we have agreed upon, in the site!
- Backing the Rig … we could write an entire blog on the methods for backing your rig and perhaps we will some day. For now, here is my favorite YouTube video covering the subject! I have watched this video a dozen times and I learn something new from it EVERY SINGLE TIME! Enjoy … https://youtu.be/p1B5d_K2__4
- Way To Go! We have the rig in the site, where we want it and a second time we both Get Out And Look again. I have completely set up and unhooked the rig only to find out that a slide wouldn’t open or the back steps wouldn’t go down because of the curb stop or “fill in the blank” … ONCE! And once is enough to have to hook everything up and move over 2 inches!
- Safety First! Once we are confident we are where we want to be I set the parking break and we chock the wheels. We have 6 rubber chocks made for 18 wheelers and typically we do 2 in front and one in back or 2 in back and one in front of the wheels depending on what slope, if any, is present in that site. Christie hits one side and I hit the other and we are ready to unhook the rig!
Unhooking the Rig and Leveling!
Let me start this part of the process by stating that we have a Reese GooseBox setup for towing our rig and I love it! It provides a safe, simple and secure hookup while providing an enhanced towing experience! It also gives me the bed of my truck back!!! That said, here are the steps we go through:
- We unhook the safety chains on both sides, I unhook the breakaway safety cable and unplug the rig from the truck.
- We then place ½ of a Camco FasTen Heavy Duty Leveling blocks, that’s 5 blocks each, under each of the front stabilizer legs. We recently began doing this for two reasons.
- It makes for shorter “stroke” for the front legs when level and adds stability to the rig.
- It also helps out when we need to be able to raise the nose of the rig a touch higher to get it off and on the ball!
- I then activate the leveling system and extend the front legs, centering them on the blocks, and begin raising the front end off of the ball. Most of the time I can see when the GooseBox connection takes the weight off of the truck and begins to tug just a little on the ball raising the truck bed slightly and sometimes I just have to watch the bed of the truck itself to see when it happens.
- Next, I pull the release cable to unhook the Reese GooseBox from the truck. Note here! Sometimes the release is smooth and easy and sometimes it can be a tad violent with the truck rocking forward, the rig rocking back or both. That is why it is critical to set the parking brake and chock the tires before unhooking!
- And last, I pull the truck forward and out of the way before hitting Auto Level on the rig! While I have not done this I know others that have hit Auto Level before moving the truck. That is going to cause a problem and potentially damage the truck and/or the rig because the first thing that happens in the Auto Level process is the nose of the rig is going to “bow”, or drop down, to get its bearings! If the truck is still there … uh oh!
Leveling the Rig & Plugging In
Don’t hate me because I have a rig with Auto Level! Our first TT was a bumper pull and I have gone through all of the work needed to get the rig level both front to back and left to right, so I get it. With this rig!

- I hit Auto Level! And she does her thing!!! How cool is that? I used to watch this miracle of modern science and didn’t do anything until it was done. Now as soon as I hit the Auto Level button, we get to work getting everything out of storage we need based upon the hookups we have available.
- We have 2 buckets … for our hookup gear. One has our water hoses and accessories, and one has our drain hoses and accessories. Read our blog on how we do our storage bins, and you can see our space saving setup! We also grab the 50A power cord and our surge protector.
- Christie Lowers the steps … and heads inside to begin doing her work. Note: she will not pop the slides until I have hooked up our drain hoses because they are under our slide on the driver side!
- There is an Order … and reason behind how I do the next steps. Here they are:
- I make sure the breaker is turned off on all of the power options at the pole before plugging in my Surge Protector and 50a power cord. I plug in the cord at the pole first and then the rig second and turn the breaker on. This powers up the AC and allows the rig the opportunity to begin to cool down or heat up on the inside!
- Next, if we have full hookups, I am going to hook up the drain hoses because our hookups are under the driver side slide! I check our Nautilus system and make sure the proper drain handles are closed and open and open the Valterra Check Valve. Once done and I am out of the way Christie can pop the slides and go to work doing her magic on the inside!
- Last, I hook up the water. While this may seem like a simple task there is a rhyme and reason for how we do things here as well! I use a “Y” , or splitter, with on/off valves as an important part of our water system. I also use quick connect fittings to make things easier, faster and the connections secure. If the run to our Nautilus system is short, I put the “Y” at the water hook up bib and connect my freshwater hose to one side and the black tank flush hose to the other. If the run to the system is too long, I how up one length of Zero G hose to the water hook up bib and the “Y” in the middle between the source and the Nautilus. Once I am ready to turn the water on, I notify Christie inside the rig so she can check all the water sources in the rig to make sure nothing was “bumped on” by accident causing a water spill inside the rig!
Setting Up Camp!
I have, from time to time, read on social media where folks criticize others for bringing too much junk! I am the too much junk guy! Here are the steps I go through to take out and set up all of our “junk”!
- I will first put down both porches and their associated gating! On the side porch I set up two chairs, stored for travel in the garage, and we use our ice chest for a center table. On the back porch I leave it empty at this point but connect the stairs so I can get our two bikes out of the garage! And some other “junk”!
- In our storage area I retrieve our two Zero Gravity chairs, our beautiful State of Texas mat and our center table and set them up! We like to “represent” when on the road!
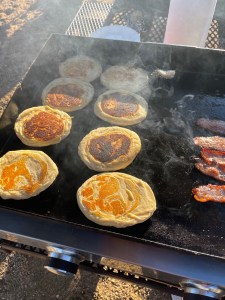
- From the storage I also retrieve our 22” Blackstone griddle and decide where I am going to set it up. There are 3 options I consider … 1. The picnic table provided by the park, 2. a 6’ folding table I carry with me that I set up on the ground or, 3. my latest option and likely my “go to” moving forward, setting it up on the back porch. I just did this for the first time, and I love the easy access and not going up and down the stairs!
- We do carry a very nice pop-up tent I use to cover the picnic table. And we, it is a 2-person job, will put it up from time to time. This is stored in our garage as well!
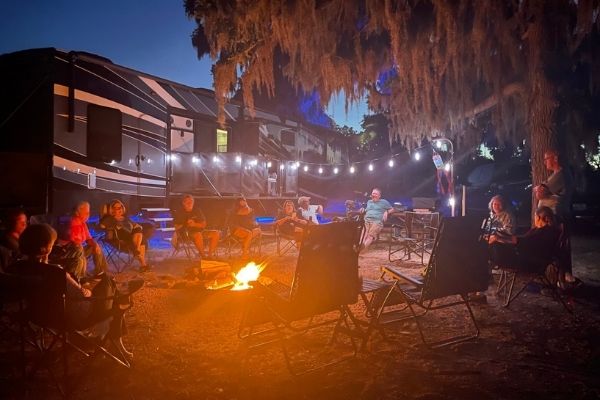
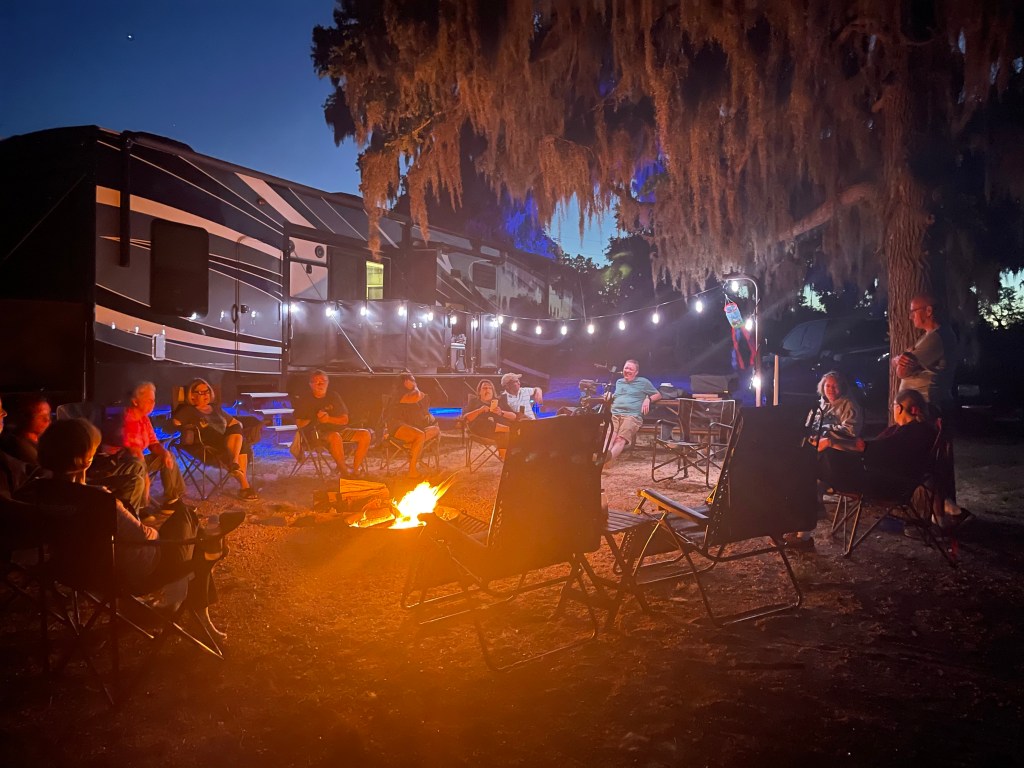
- And last, but not least, we have two strands of awesome lights I will deploy! Yes, I am “that guy” as well!
- NOTE: None of this includes the process we go through to set up our office and all of the associated technology, in the garage of the JoyHauler! That will be the focus of another blog!
While I understand all the folks that complain about “too much junk”, I get it I really do, but remember, this is our home. We got rid of more junk than you can imaging so we could live full time like this!
Putting our chairs on the side porch, chairs on the ground and a pop-up tent over the picnic table all gives us more “living space”! I love the lights at night but always turn them out by quiet time. I really love using the Blackstone for cooking on the back porch!
So, there it is … how we set up, what we set up and even a little why we set up the way we do!
Tearing Down Our Camp and Leaving!
Suffice it to say that all of the fundamentals still apply, and you can run the set up movie in reverse and see the process we go through to “tear down our camp and leave”. Here is an important tip I have learned that has made a world of difference in our travels! I do everything we need to do outside of the rig to leave, except unhook the water and electricity and hook up the rig, the day before we leave! Christie does the same on the inside! Why? On the day of travel, I want to be as fresh as possible for the drive! I have made the mistake of doing all, or even part, of the outside tear down the day of travel and was exhausted. That exhaustion could easily lead to making a mistake and that could be very costly!
So, I will take the day before we leave to begin putting stuff/junk away a little bit at a time. Sometimes it will take the entire day and sometimes I get it done in a couple of hours. If we are on full hookups, I will drain our tanks and take advantage of the time to flush the black tanks thoroughly!
I will also take some time to turn on my Tire Pressure Monitoring System to check the pressure in all of the tires (6) on the rig. If any of them need attention I will take care of it. The last thing I do is put the porches up and secure them. Then the rig is ready to roll the next morning with very little left to do!
Hooking Up and Heading Out
On the mornings of departure, we are rarely in a hurry! Christie will fix us a simple breakfast and sandwiches and snacks for the road. We get our bags ready for loading in the truck and I head outside to do the following while she brings in the slides and turns the fridge over to propane for the trip! While outside I simply:
- Unhook the water supply and store everything in the water bin. I then store that bin in our basement storage.
- I turn off the breaker to the 50a at the pole and unhook the power cord and surge protector. I will roll it all up and add it to the storage area in the basement as well!
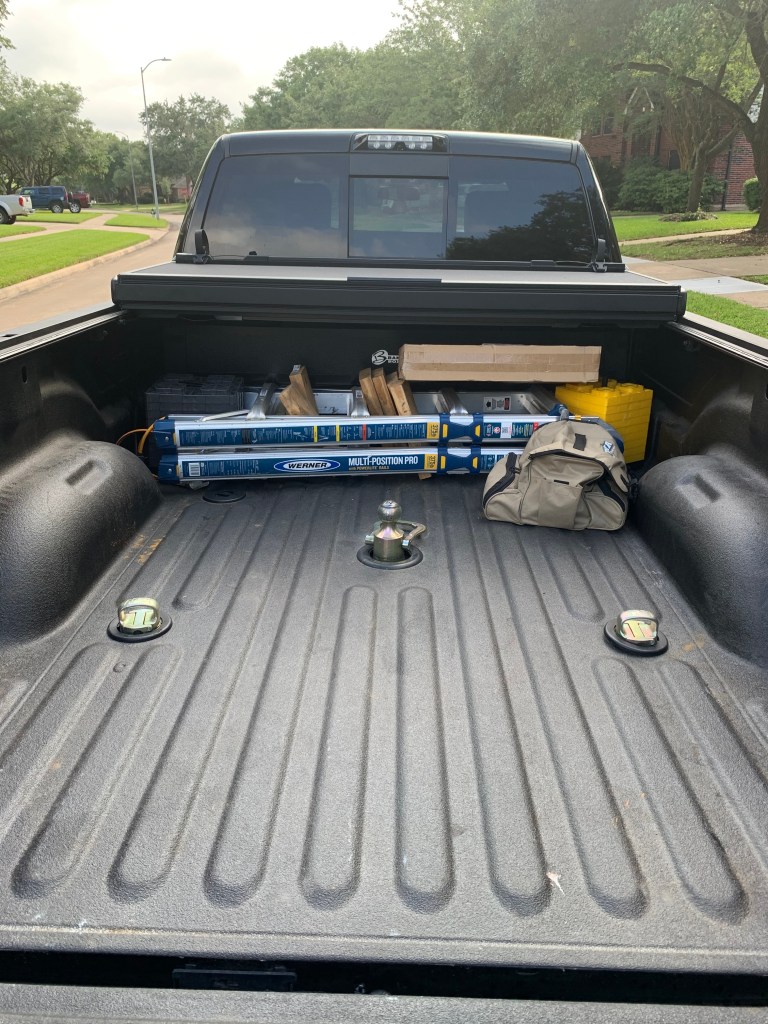
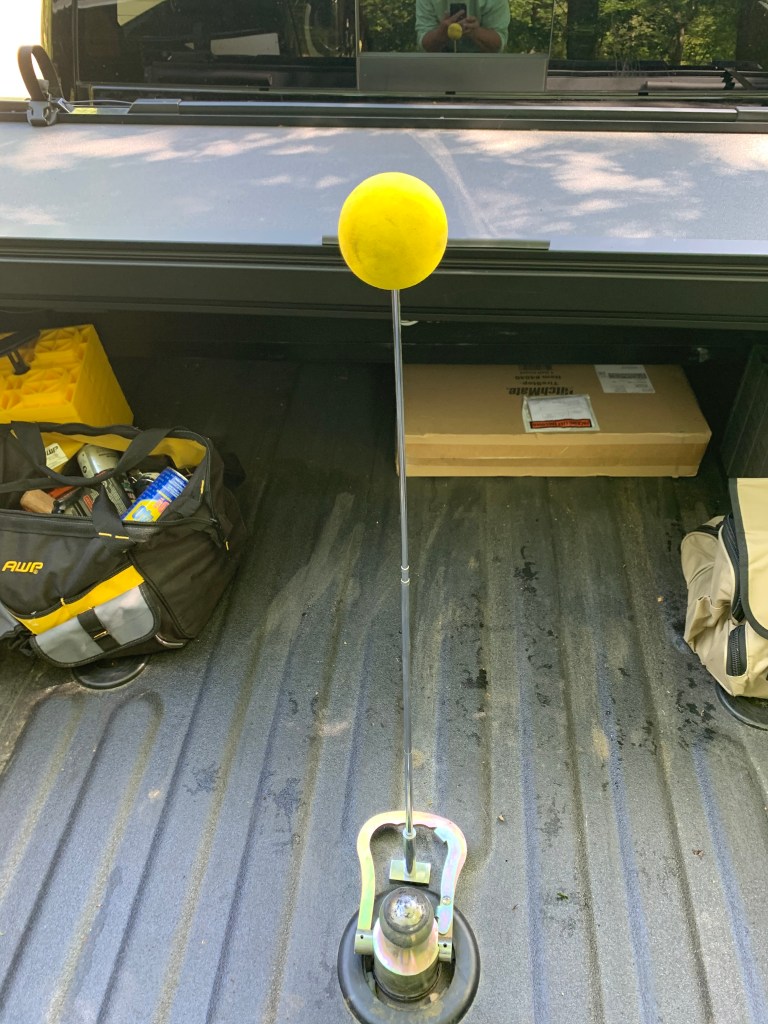
- At this point, or sometime in the morning, I will set the truck bed up for travel by retracting our BakFlip bed cover and securing it. I will also set up my hitch guidance, a tennis ball on an antenna with a magnetic base, right behind the ball in the bed of the truck!
- The last thing we do is close up the front and back stairs, lock the doors and do a walk around to check everything before hooking up!
Hooking Up!
Again, somewhat of a movie in reverse but there are some important things worth noting. That said, it goes like this!

- Auto Level! And here I am thankful again as I activate the system and hit the “Hitch Height” button and it retracts all of the back legs and raises the nose to the same level it was when I hit “Auto Level” in our unhooking process! How cool is that.
- I lower the tailgate on the truck, very important, and then position the truck to hook up with the rig. And I back the truck into position. Christie has one job and one job only at this point … to let me know that I have the clearance I need to miss the tailgate and clear the ball. While that may sound silly I want to know that I am clear while backing. Two thumbs up, one at the tailgate and one at the ball, does the trick!
- Getting the Reese GooseBox positioned directly above the ball was a tricky task at first. Had I not added a BakFlip bed cover to our 2019 Dodge Ram 3500 DRW it would have been easy using the camera that is directed at the bed of the truck! But the BakFlip blocks that view! I created a very effective workaround that makes connecting easy. I placed (see picture) a blue strip of painter’s tape right down the center of the GooseBox and I simply align it with the yellow tennis ball on an antenna right behind the ball (see picture) and then back up until the GooseBox makes contact and the antenna just begins to tilt away from me! I have gotten adept at knowing just when to stop and look to see if we are good even considering how much the truck is going to roll either backwards or forwards. When it is positioned properly, I shut the truck down and apply the parking brakes!
- Using the Leveling system I lower the receiver onto the ball until it latches and the weight of the rig is beginning to load up the truck. Then I hit
Retract All on the system and she does the work! We pull the Camco FasTen blocks and store them. We connect the safety chains, the emergency break away cable and the 7 pin connector and close the tailgate. - The last thing we do before pulling the chocks is test the lights and do one more walk around checking all of the doors, latches, inspect the tires and make sure we haven’t forgotten anything! Believe it or not I almost drove off without Marley once! I was hooking up solo since Christie was at work (this was before we went full time) so I had a lot to do. I did my final walk around and there was our sweet dog chained to the picnic table where I had put him so he would be out of the way while I was working. I don’t know if he had any idea how close I came to leaving him there!

- Once we are in the truck we aren’t finished! I crank the engine and we have more to do! I turn on Tow Haul mode on the truck as well as the Exhaust Brake, turn on our TST 507 Tire Pressure Monitoring System and Christie programs our destination into our Garmin RV 785. I release the parking brake, we ease out of our site and we are “on the road again”!

Yes, this is a lot of work! And I love every minute of it, except maybe draining the black tanks. That isn’t what I would call loads of fun. So every site is different and I love figuring out how we are going to make it our home for whatever the foreseeable future is at that location. We have had the pleasure of calling some spectacular places home on our journey. No doubt we will be doing it again and again in the days ahead!
We hope this helps you in your process! Maybe we have shared something that will make your setup and tear down easier, simpler, safer or more effective. We know we don’t have it all figured out just yet and have a lot to learn, so please feel free to share your thoughts and ideas in the comments below! We look forward to learning great ideas from you!
While you’re at it take a moment to subscribe to the blog and, if you would be so kind, share this with your friends! We would appreciate it!
Stay safe and enjoy your travels …
Jim & Christie Jacobus